
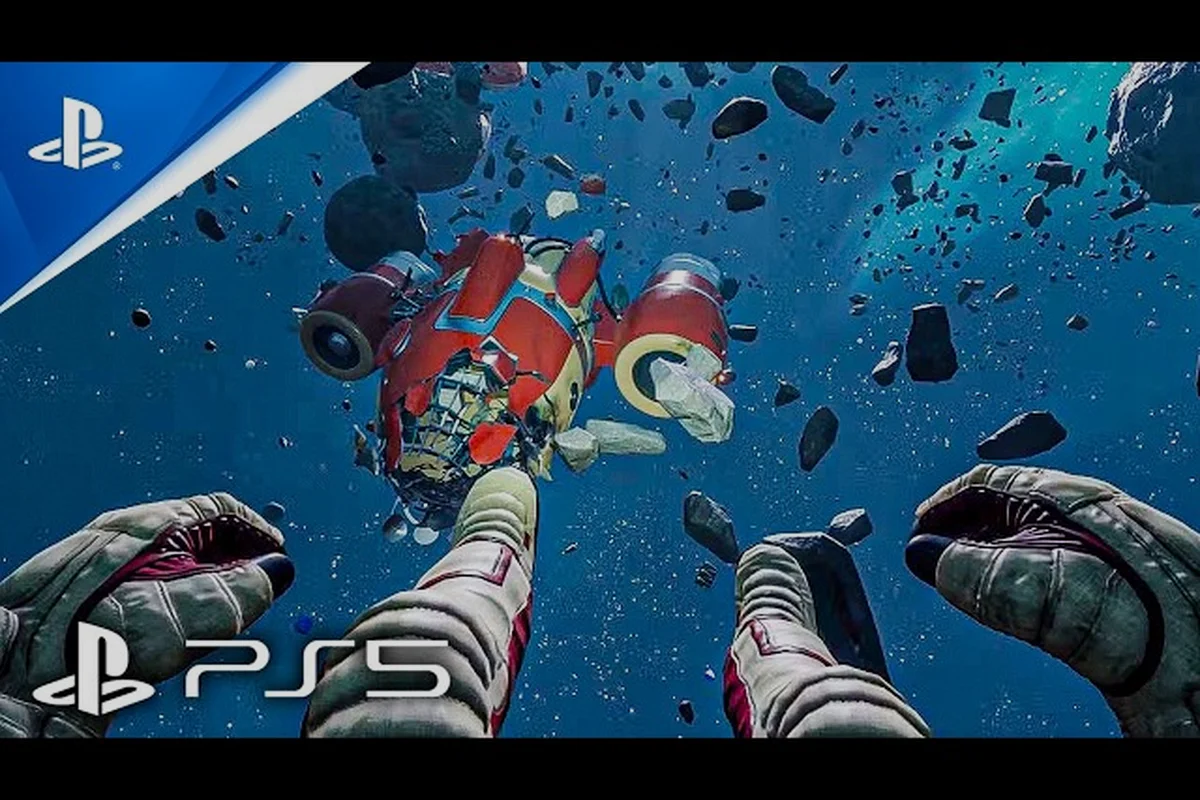
The first major story chapter in Breathedge 2 throws you into open space with a damaged suit, a sarcastic AI, and very little direction. This Breathedge 2 full walkthrough cuts through the confusion by mapping every main objective, pickup, and route in the Early Access build. Knowing where to drift first saves you from wasting oxygen on dead ends, which is why this guide prioritizes the exact sequence you need to survive.
How the First Chapter Actually Flows
The Early Access launch of Breathedge 2 does not hold your hand, because the opening area is deliberately designed to teach survival mechanics through pressure rather than tutorials. According to the official Steam store page, the game currently includes the first major story chapter alongside a large explorable region filled with resource nodes, hostile Coffinbots, and optional wreckage sites. Your initial objective chain forms a loose loop: stabilize oxygen, locate a repair station, then chase a signal that keeps shifting as you approach it.
The flow of the first chapter can be broken into five distinct phases, and understanding these phases helps you avoid the most common early deaths. Community reports consistently describe new players losing 20-30 minutes to a single missed prompt or a bad drift into a debris field, so treating the sequence as checkpoints matters more than rushing.
| Phase | Primary Objective | Key Danger | Main Pickup |
|---|---|---|---|
| 1 | Stabilize suit integrity | Low oxygen timer | Duct tape bundles |
| 2 | Reach the Waystation | First Coffinbot patrol | Pulse welder |
| 3 | Restore station power | Fuse puzzle | Navigation chip |
| 4 | Follow the distress beacon | Drifting wreckage | Corpse keycard |
| 5 | Enter the Coffinbot hangar | Swarm ambush | Ship module fragment |
The first chapter is not a linear corridor, because the open-space layout lets you approach objectives from multiple angles. However, the oxygen economy forces a loose priority order, and deviating too far from the beacon path usually means you burn through air canisters before reaching the next refill point.
Surviving the Opening Drift: A Breathedge 2 Chapter Guide for Your First 30 Minutes
Your first 30 minutes are the most dangerous part of the entire Early Access build, which is why this Breathedge 2 chapter guide focuses heavily on the opening sequence. When you wake up after the prologue cutscene, your suit integrity sits at roughly 40 percent, your oxygen reserve is already draining, and the AI companion spends more time mocking you than explaining controls. The immediate goal is not exploration but stabilization, and the game quietly tests whether you can prioritize under pressure.
The opening area contains three resource types that matter more than anything else: aluminum shards, insulation foam, and sealant gel. These three materials feed into the first repair recipes, and they all spawn within 200 meters of your starting position. Players who ignore the early junk piles often reach the first station with a cracked visor and no way to fix it.
Reading the HUD Before You Move
The HUD in Breathedge 2 is deliberately cluttered, but three elements demand immediate attention. Your oxygen gauge sits in the lower left and depletes faster when you sprint or use the thrust pack. Your suit integrity appears as a segmented bar above the oxygen meter, and each lost segment increases oxygen drain by roughly 12 percent based on community testing. The third critical element is the signal compass, a thin blue arc that points toward your current objective but wobbles when you pass near interference fields.
First Repair and Crafting Loop
Before leaving your starting wreck, you should craft at least one patch kit and one air canister. The crafting interface opens through the suit menu, and the game does not pause while you browse, which means you need to secure yourself against a stable surface first. Community reports confirm that crafting while drifting freely is the most common cause of lost progress in the opening minutes.
-
Grab aluminum shards from the broken hull panels directly behind your spawn point.
-
Craft a patch kit first, because suit integrity failures compound oxygen loss faster than empty reserves.
-
Keep at least two air canisters in your quick slots before leaving the starter wreck.
-
Do not chase the signal compass immediately; clear the nearest junk pile first.
The first repair loop teaches the core rhythm of the entire game: drift, scan, collect, return, and craft. While the first chapter is forgiving with base resources, it is not forgiving with time, because every detour costs oxygen that you cannot easily replace until you reach the Waystation.
Reaching the Waystation and Restoring Power
The Waystation is the first real hub in Breathedge 2, and it sits roughly 400 meters from your spawn point along the beacon path. The journey there introduces you to the thrust pack, which gives you short bursts of acceleration at the cost of extra oxygen drain. You need to use the thrust pack sparingly, because the distance is short enough to drift at base speed but long enough to tempt you into wasting resources.
When you arrive at the Waystation, you will find it dark, partially depressurized, and crawling with salvage drones that ignore you until you touch the central console. The main objective here is to restore power, which requires solving a fuse puzzle that most players misread on the first attempt. The station has four fuse slots, but only three power cells are present, and the missing cell is hidden behind a maintenance hatch near the station's underside.
The Fuse Puzzle Layout
The fuse puzzle uses a simple current path system, where each inserted cell powers one segment of the station. The three available power cells have different output ratings, and placing the wrong cell in the central slot triggers a breaker reset that spawns a small Coffinbot wave. According to community reports, the correct order is medium output in the left slot, high output in the central slot, and low output in the right slot.
| Fuse Slot | Required Output | Found Location | Failure Consequence |
|---|---|---|---|
| Left | Medium | Station floor crate | Lights flicker |
| Center | High | Hidden maintenance hatch | Breaker reset + Coffinbot wave |
| Right | Low | Attached to salvage drone | Airlock stays locked |
| Missing | None | Outside station ring | N/A |
After restoring power, the station unlocks a storage locker containing the navigation chip, which expands your signal compass to show side objective markers. This is also where the game introduces NPC radio chatter, and you receive your first optional side quest from a voice that may or may not be friendly. The early access survival tips for managing station resources become relevant here, because the Waystation acts as a temporary base for the next two objectives.
Following the Distress Beacon Through the Debris Field
The distress beacon objective sends you into a debris field that stretches across the eastern edge of the first chapter map. This section is the first real test of your thrust pack control, because the field contains rotating hull sections, live electrical arcs, and proximity mines left over from the Breathedge Corporation attack. The beacon signal grows stronger as you approach the center, but the path is not a straight line.
Community testing has mapped three viable routes through the debris field, and each one favors a different playstyle. The high route takes you over the densest wreckage but exposes you to sniper drones that target slow-moving suits. The low route keeps you inside the shadow of larger hull pieces but forces you through oxygen-depleted pockets. The side route is the longest but safest, because it follows the outer edge of the field and avoids most hazards.
The Corpse Keycard and the Locked Cargo Pod
At the center of the debris field, you find a corpse keycard attached to a floating maintenance suit. The keycard opens a locked cargo pod on the far side of the field, but the pod is guarded by a Coffinbot patrol that circles on a fixed timer. Players who rush the pod without clearing the patrol often get swarmed, because the patrol call for reinforcements when its hull drops below 50 percent.
-
Wait for the Coffinbot patrol to complete its full loop before moving in.
-
Use the thrust pack to reach the pod airlock during the patrol's blind spot.
-
Insert the corpse keycard before engaging any nearby enemies.
-
Grab the ship module fragment and exit through the side vent, not the main airlock.
The ship module fragment you retrieve here is the first piece of a larger upgrade path, and the game immediately triggers a radio update that sets up the next chapter. For players who want the full narrative context behind the Breathedge Corporation attack, the story breakdown connects this objective to the larger plot.
The Coffinbot Hangar: First Major Combat Encounter
The Coffinbot hangar is the final major set piece of the first chapter, and it is the first encounter where stealth is not optional. The hangar contains roughly a dozen Coffinbots spread across three tiers, and entering through the main door triggers an alarm state that brings the entire room down on you. The intended route uses a maintenance shaft on the hangar's upper level, which lets you disable two alarm pylons before the fight starts.
Your loadout at this point should include the pulse welder, at least four air canisters, and one proximity mine if you found the optional cache in the debris field. The pulse welder is not a high-damage weapon, but it staggers Coffinbots briefly, which is enough to reach the override console at the far end of the hangar.
Enemy Types and Engagement Rules
The Coffinbots in the hangar split into three behavior groups. Swarmer Coffinbots move fast and attack in groups of three, but they have low hull integrity and retreat after losing two units. Bruiser Coffinbots carry heavy armor and a charge attack that cannot be blocked, so you need to use vertical movement to avoid them. Overseer Coffinbots stay near the back of the hangar and buff nearby units until you destroy their command module.
| Enemy Type | Hull Integrity | Attack Pattern | Recommended Counter |
|---|---|---|---|
| Swarmer | Low | Group rush, melee | Pulse stagger + retreat |
| Bruiser | High | Charged lunge, area slam | Vertical thrust dodge |
| Overseer | Medium | Ranged buff aura | Focus fire on command module |
Once you reach the override console, the hangar doors open, and a cutscene introduces the next major story beat: the Coffinbot fleet mobilizing toward a nearby colony signal. The first chapter ends here, but the game does not lock you out of the area, which means you can return to collect missed resources or finish side quests before moving forward.
Optional Objectives and Missable Pickups in Chapter One
The main path in Breathedge 2 is short enough that speedrunners complete the first chapter in under 40 minutes, but the optional content adds significant depth. Early Access players have documented at least seven side objectives in the opening region, and three of them reward items that carry into the next chapter. The most valuable optional pickup is the graviton lens, hidden inside a derelict science module that requires a power cell to open.
The derelict science module sits on the northern edge of the map, far from the main beacon path, and most players miss it entirely on a first run. The module contains two power cell slots, but only one cell is present, so you need to bring a spare from the Waystation or find the one hidden in the debris field. The graviton lens inside improves your thrust pack efficiency by roughly 15 percent based on community testing, which makes it a high-priority pickup for completionists.
Side Objective Checklist Before the Hangar
Before you enter the Coffinbot hangar, the game gives you a final window to explore the map, and several objectives become unavailable after the hangar cutscene. The lost supply cache objective requires you to track three beacon echoes that form a triangle around the Waystation, and the reward includes a rare alloy used in the first ship upgrade. The stranded salvage team objective asks you to deliver a medkit to a wrecked shuttle, and the team grants you a discount chip for station vendors.
-
Complete the lost supply cache objective before entering the hangar, because the beacons despawn after the cutscene.
-
Deliver the medkit to the stranded salvage team for the vendor discount.
-
Bring a spare power cell to the derelict science module for the graviton lens.
-
Scan the radio tower near the map's south edge to unlock a navigation marker for the next chapter.
These optional objectives are not required to finish the chapter, but they make the next section significantly easier, because the rare alloy and graviton lens both feed into early ship upgrades. If you are planning to push into the planetary surface content planned for later Early Access updates, the ship expansion priorities guide covers where to invest those materials first.
Frequently Asked Questions
How long is the Breathedge 2 full walkthrough for the current Early Access build?
The main story chapter takes roughly 3-5 hours on a first run, depending on how many optional objectives you complete. Speedrunners finish the main path in under 40 minutes, while completionists spend 8-10 hours clearing every side objective and hidden cache.
Does this Breathedge 2 chapter guide cover the demo content?
Yes, the opening sequence in the full Early Access build mirrors the demo's first objectives, but the demo ends before you reach the Coffinbot hangar. If you are coming from the demo, check the demo walkthrough for what transfers and what changes.
What is the hardest objective in the first chapter?
The Coffinbot hangar encounter is the hardest mandatory objective in Chapter One. Its alarm state triggers aggressive reinforcement waves if you charge in early. Instead, crawl through the maintenance shaft first and disable both alarm pylons; this cuts incoming Coffinbot reinforcements by roughly half before the main fight.
Can I return to the first chapter area after finishing it?
Yes, the game does not lock the opening region after the hangar cutscene, so you can return to collect missed pickups or finish side objectives. The graviton lens and rare alloy remain accessible until you trigger the next chapter's departure sequence.
What should I upgrade first after completing the first chapter?
Prioritize the thrust pack efficiency upgrade using a graviton lens first, then spend rare alloy on an oxygen reserve ship module. Both directly counter the longer drift distances between the Waystation, debris field, and Coffinbot Hangar, keeping your O₂ and fuel margins manageable before the first major combat encounter.