
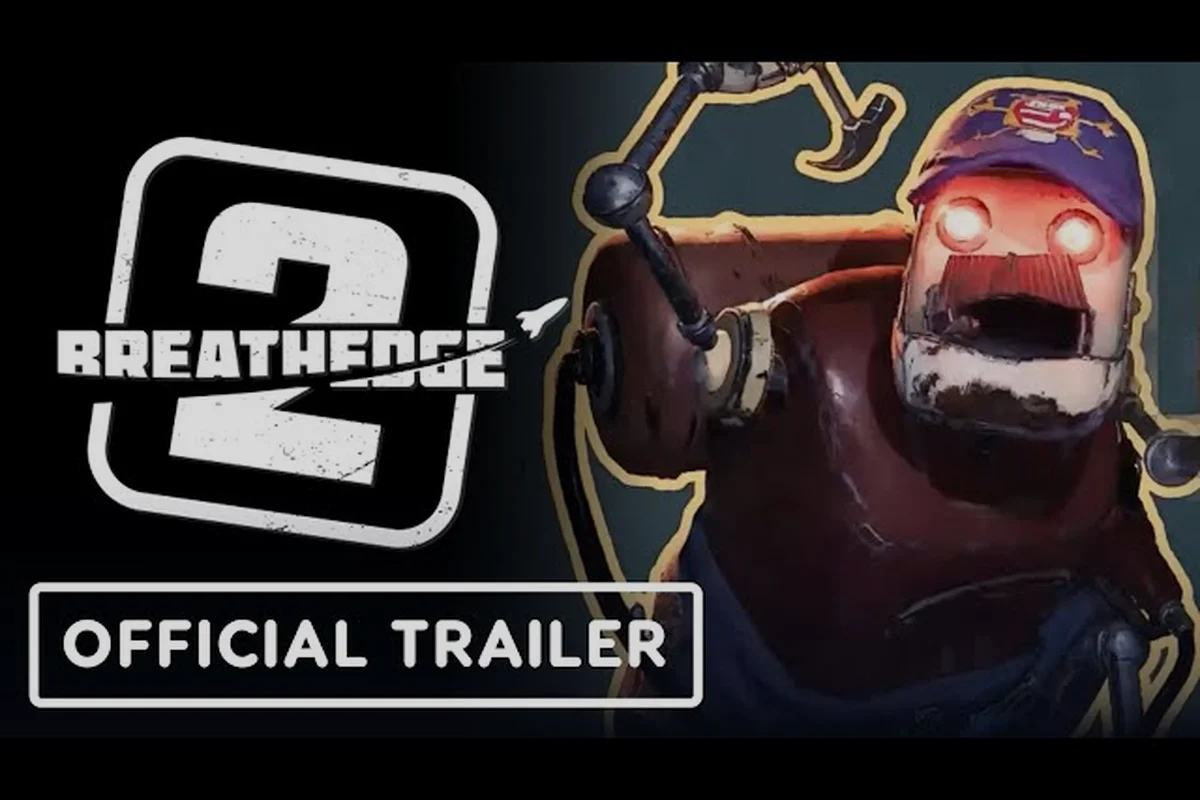
A Breathedge 2 crew guide matters because your ship stops being a collection of empty rooms once living people board it. Every crew member carries personal goals, comfort thresholds, and a breaking point that can end with a note and an empty bunk. Understanding the difference between low morale and crew abandonment prevents a slow spiral into flying a ghost ship. When that breaking point is reached, proactive systems—such as the rotating duty rosters and morale buffers detailed in our Breathedge 2 crew management walkthrough—become the difference between a temporary slump and an empty ship.
Reading Crew Behavior Before You Assign a Single Task
The first hour with a new crew member tells you more than any stat sheet. Watch where they stand, what they complain about, and which objects they keep returning to. In Breathedge 2, the Man gathers allies through story events and optional exploration, but recruitment is only the opening move. The real mechanic is crew stability, which shifts after every dialogue choice, assignment change, and ship upgrade.
The Three Signals That Matter
Players who treat crew members like decoration usually run into trouble within two missions, because each recruit in Breathedge 2 carries hidden morale thresholds and personal need timers that decay independently of the main oxygen and station integrity loops. The game surfaces three signals consistently across the early access build, according to community testing: a sustained drop in crew morale below 30%, repeated complaints logged in the crew manifest about unassigned bunks or missing ration packs, and the final abandonment warning that triggers when a specialist’s loyalty meter bottoms out after roughly two in-game cycles.
-
Posture and idle position — unhappy crew drift toward airlocks, corners, or the Chicken enclosure, while comfortable crew linger near workstations.
-
Dialogue repetition — a crew member repeating the same complaint about oxygen rationing or bunk temperature is asking for a fix, not making small talk.
-
Task refusal frequency — when a crew member skips an assigned duty twice in a row, the problem is almost always crew morale, not a bug.
| Signal | What It Means | First Fix |
|---|---|---|
| Airlock idling | Considering departure | Reassign comfort duty |
| Repeated food complaints | Nutrition need unmet | Upgrade galley priority |
| Task refusal | Morale below threshold | Remove one duty temporarily |
| Silent for 2+ cycles | Emotional withdrawal | Initiate dialogue manually |
The distinction between a crew member who dislikes one task and one who has begun the crew leaving countdown is subtle. A single complaint is manageable. Three complaints in one cycle, or silence combined with airlock behavior, means the abandonment timer is likely running.
Why Early Assignments Create the Baseline
Your first crew assignment sets the reference point for every future interaction. If you start a crew member on a task that conflicts with their personal goal, they will remember it even after you move them. Community reports describe a hidden grudge modifier that decays slowly, which is why swapping someone away from a hated job does not instantly restore their attitude.
The Breathedge 2 crew guide approach that works best is to assign the least controversial duty first, observe one full cycle, then expand responsibilities. This matches the survival pacing covered in the early access tips walkthrough, where resource loops and character routines overlap significantly.
What Every Breathedge 2 Crew Member Actually Needs
The needs system goes deeper than oxygen and food. Each crew member tracks physical comfort, social connection, autonomy, and purpose. Ignoring one category while maxing another creates a specific failure mode that looks different depending on which need you starve.
Physical Needs and the Ship Layout
Every crew member needs sleep access, food variety, and thermal regulation. The galley, bunks, and environmental control panels all connect to crew satisfaction, but the order you upgrade them matters less than the spacing. If the galley is on the opposite end of the ship from the bunks, crew burn extra travel time and arrive tired.
| Need | Depletion Rate | Warning Signal | Worst Outcome |
|---|---|---|---|
| Sleep | Slow but compounding | Yawning dialogue | Task refusal |
| Food | Fast without galley upgrades | Repeated galley visits | Morale collapse |
| Warmth | Fast in outer hull sections | Shivering idle animation | Abandonment trigger |
| Social | Slow but irreversible | Isolation dialogue | Silent departure |
The physical layer is the easiest to fix, which makes it the best place to start when you notice breathedge 2 unhappy crew behavior. A ship-wide temperature sweep and a food stock upgrade resolve most early complaints before they become social problems.
Social Connection and the Chicken Factor
The Chicken is not a joke mechanic. It functions as a social anchor for the entire crew, pulling people into shared routines that would otherwise fragment across the ship. Crew members who interact with the Chicken gain a small morale buffer, while crew who never reach the enclosure start to feel disconnected.
Because social needs deplete invisibly, many players miss the warning signs until the breathedge 2 crew abandonment timer has already started. The fix is to treat the Chicken enclosure as a communal space rather than a storage corner. Moving the enclosure closer to the galley or bunks increases interaction frequency without any extra input from you.
Autonomy and Purpose Are the Hidden Costs
Crew members need to feel useful. Assigning someone to a task they hate drains crew morale even if all physical needs are met. Conversely, a crew member who completes a task aligned with their personal goal gains a lasting morale boost that survives minor setbacks.
The management layer built into Breathedge 2 rewards players who read character dialogue instead of skimming it. When a crew member mentions a past failure, a specific fear, or a skill they want to prove, that is a direct hint about their preferred role. Assign against that hint and you create the conditions for crew leaving even on a fully stocked ship.
Building a Ship Layout That Prevents Crew Abandonment
The physical arrangement of your vessel determines how often crew members interact, how quickly they reach their stations, and how isolated they feel. A cramped layout with poor sightlines produces more abandonment triggers than any dialogue choice — crew members pathing through dead-end corridors or past sealed oxygen modules accumulate idle time and loneliness debuffs faster, and if a station is more than roughly two module-lengths from the nearest habitation node, response delays compound into morale penalties. By contrast, an open central hub with clear lines of sight to workstations and the coffee dispenser keeps crew in shared sightlines, which suppresses the isolation checks that typically precede a crew member packing their suit and leaving.
The Comfort Radius Concept
Each crew member has an invisible comfort radius around their primary workstation. If their bunk, galley, and social space all fall within that radius, they spend less time traveling and more time generating positive status. If any one of those falls outside the radius, you lose efficiency and gain stress.
| Zone | Ideal Distance | Effect When Too Far |
|---|---|---|
| Bunk to workstation | Under 15 meters | Sleep deficit |
| Workstation to galley | Under 20 meters | Hunger complaints |
| Galley to social area | Under 10 meters | Social isolation |
| Airlock to all zones | Any distance | Departure risk |
The layout principle is simple: cluster living spaces, spread workstations. When the bunks, galley, and Chicken enclosure sit close together, crew naturally gather there between tasks. That gathering creates the social buffer that prevents most breathedge 2 crew leaving scenarios.
Where Most Players Get the Layout Wrong
The most common mistake is treating the ship like a storage warehouse instead of a living space. Players build long corridors with workstations on one end and living quarters on the other, then wonder why morale crashes despite full supply bins. The distance itself is the problem.
The second mistake is placing the Chicken enclosure near the airlock for easy access. That puts the social anchor in the most dangerous location on the ship, where crew members in a low-morale state are already drifting. Move the enclosure inward, even if it costs a little convenience.
For a broader look at how layout choices connect to the overall survival loop, the progression checklist covers resource routing and early ship planning in detail. The core tension is that every habitat module you bolt onto the wreck in the first two hours competes for the same oxygen, power, and repair kits your crew needs to stay alive — and a sprawling, inefficient corridor layout means your Engineer wastes entire shifts just walking between the Oxygen Candle station and the Storage Bay. Players who rush decorative wings before securing the Crew Quarters and Galley often hit the same wall: a fully furnished ship with three unhappy crew members standing in the dark, which triggers the morale penalties that eventually lead to crew abandonment.
Managing Unhappy Crew Before the Departure Countdown
Once a crew member shows breathedge 2 unhappy crew signals, you have a limited window to act. The departure countdown is not instant, but it does not reset on its own. Each cycle of ignored complaints pushes the timer closer to the point where the crew member leaves without a final warning.
According to the official Breathedge 2 Steam page, each crew candidate’s survival stats, sanity tolerance, and unique vacuum perks are listed in the store’s feature overview, which can help you decide who to prioritize before the oxygen scrubber fails.
The Three-Stage Intervention
Intervention works best in stages. Jumping straight to a full reassignment or ship remodel can backfire if the root cause is social rather than physical. Start with the cheapest, most reversible fix — a single shift swap or moving one crew member's bunk near a compatible coworker — and watch the morale readout for one full in-game cycle before committing resources. If the unhappy crew member's morale bar stabilizes above the abandonment threshold, you have confirmed a social trigger without spending rare salvage on unnecessary module reconfiguration.
-
Stage one: listen and adjust one variable. Change food priority, bunk assignment, or thermal settings for a single cycle. Watch whether the complaint repeats.
-
Stage two: remove the specific stressor. If a crew member hates a task, move them off it temporarily. If they mention another crew member, check the social log for conflict.
-
Stage three: rebuild the bond. Initiate dialogue manually, move the Chicken enclosure closer, or reassign a preferred task to restore the morale buffer.
| Stage | Action | Expected Result |
|---|---|---|
| One | Adjust one physical variable | Complaint stops or changes |
| Two | Remove the specific stressor | Posture returns to neutral |
| Three | Rebuild social connection | Positive dialogue returns |
Skipping stage one and jumping straight to stage three often backfires because the underlying physical trigger is still active — a crew member with 14% oxygen tank integrity and a broken pressure regulator won’t stop radiating discomfort just because you queued a morale-boosting decoration. The breathedge 2 crew tips that work consistently treat morale as a layered system rather than a single meter: resolve oxygen, temperature, and radiation leaks first, then address emotional modifiers, and only then apply buff items like the “Cosmic Comfort” module.
When a Crew Member Is Already at the Airlock
The final warning looks different for each character. Some give a farewell dialogue that sounds final. Others stop talking entirely and begin a slow walk toward the airlock during idle periods. Once you see this behavior, only an immediate intervention has a chance to reverse it.
The official Steam store page describes the crew as people you get to know over time, which means the game expects you to track their individual patterns. When a crew member reaches the airlock stage, the crew abandonment sequence has already started, and the only remaining lever is a direct dialogue choice that addresses their specific grievance. If you cannot identify the grievance, you lose them.
Crew Loyalty, Role Optimization, and Long-Term Stability
Loyalty is the compounding reward for consistent management. A crew member with high loyalty tolerates minor shortages, occasional task conflicts, and even a temporary layout problem without triggering the departure countdown. Low loyalty makes every small issue feel like a reason to leave.
The Loyalty Curve and What It Unlocks
Loyalty builds through successful task completion, dialogue alignment, and social interaction frequency — for example, assigning the Engineer to repair a damaged oxygen generation module while praising her work during the debrief yields a larger loyalty spike than silently completing the same job with the Medic. It decays through ignored complaints, task refusal, and prolonged isolation, with abandonment risk rising sharply after two consecutive complaint dismissals. The curve is not linear; early loyalty gains come fast, but the final tiers require sustained attention, and a single unhappy crew event in the late game can erase days of accumulated progress.
| Loyalty Tier | Threshold | Unlock |
|---|---|---|
| Distant | Starting state | Basic task access |
| Cooperative | 2-3 successful cycles | Expanded role options |
| Trusted | 5+ cycles with no complaints | Personal quest hints |
| Devoted | Long-term stability | Abandonment immunity |
The Breathedge 2 crew guide approach to loyalty is to front-load effort. The first five cycles after recruitment matter more than the next twenty, because the early baseline determines whether the crew member sees the ship as a home or a temporary posting.
Role Optimization Without Micromanaging
The best captains assign roles once and adjust rarely. Frequent reassignment confuses crew members and resets the familiarity bonus they build with a workstation. The exception is when a crew member explicitly asks for a change, which signals that the current role conflicts with a personal goal.
Crew members who stay on a preferred task long enough develop specialization, which improves output and deepens loyalty. The crew management tips guide covers how to recruit the right mix of personalities so that role conflicts are rare from the start.
Crisis Prevention Through Routine
The most stable ships run on predictable routines. A set meal time, a consistent sleep cycle, and a regular social period all contribute to crew morale without requiring active input. When you deviate from the routine, do it deliberately and compensate with a morale buffer.
The game rewards players who think of crew management as a preventive system rather than a reactive one. By the time a crew member complains, you have already lost some loyalty. The goal is to structure the ship so that complaints never happen in the first place.
Frequently Asked Questions
How do I stop a crew member from leaving Breathedge 2?
Identify the specific grievance by reading recent dialogue, then intervene immediately. Adjust the physical variable first, such as food, temperature, or bunk assignment. If the complaint persists, remove the crew member from a hated task and move the Chicken enclosure closer to rebuild social connection before the departure timer ends.
What causes crew abandonment in Breathedge 2?
Abandonment triggers when crew morale drops below a critical threshold and remains there for multiple cycles. The most common causes are prolonged isolation, ignored food or sleep complaints, assigning a crew member to a task that conflicts with their personal goal, or placing living quarters too far from workstations and social areas.
Does the Chicken actually affect crew morale?
Yes. The Chicken functions as a social anchor that draws crew members together. When the enclosure sits near living quarters, crew interact more frequently and build a morale buffer that resists minor complaints. When the enclosure is isolated or placed near the airlock, social connection drops and abandonment risk rises.
Can a departed crew member come back?
No. Once a crew member leaves your ship in Breathedge 2, they are gone permanently. Departure triggers during the final countdown after their needs have been neglected for too long, so the only reliable way to keep a specialist is to resolve their unmet needs before that timer expires.
How many crew members can I recruit in early access?
The first chapter includes a core cast introduced through story events and optional exploration. The exact roster size depends on how thoroughly you explore abandoned stations and follow side quests. The official Steam page confirms that meeting new characters is a major part of the early access experience, though the full roster expands in later content updates.