
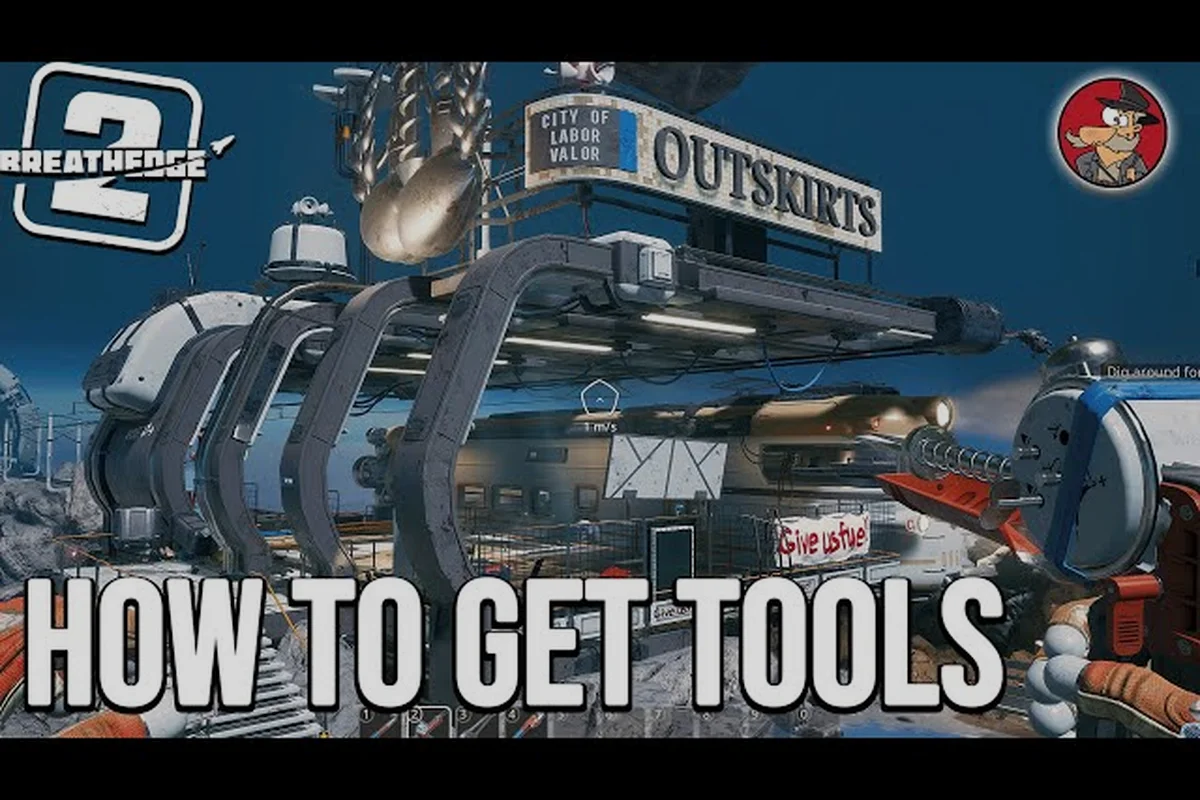
The 2026 rework of Breathedge 2 changes how equipment crafting feels from the first hour. Developer RedRuins Softworks removed the degradation mechanic that made items break after a few uses, so building a drill is now a meaningful milestone rather than a temporary patch. Understanding tool tiers, crafting stations, and resource flow determines whether you drift through the void comfortably or limp between oxygen leaks.
Understanding the Crafting Station Hierarchy
Crafting in Breathedge 2 revolves around a progression of stations rather than a single omnibus workbench. Each station unlocks specific recipe categories, which means your early game revolves around getting the right module built before you can address survival bottlenecks. The official Steam page confirms that resource gathering, crafting, upgrades, and repairs form the core loop alongside combat and exploration.
The first station you interact with is the Improvised Workbench, which handles basic tools and suit patches. It requires minimal scrap and duct tape, making it accessible within the first thirty minutes. From there, the Fabricator expands your options to mid-tier gear, while the Assembly Rig gates vehicle and base modules. Community reports indicate that rushing the Fabricator early pays off because it unlocks the Scanner upgrade path, which improves how you locate rare salvage.
| Station | Primary Function | Key Unlocks | Approx. Unlock Window |
|---|---|---|---|
| Improvised Workbench | Basic tools, suit repairs | Repair tool, oxygen canister | First 30 minutes |
| Fabricator | Mid-tier gear, upgrades | Scanner, reinforced suit | 1-3 hours |
| Assembly Rig | Vehicles, base modules | Rover parts, habitat seals | 3-8 hours |
| Advanced Fabricator | High-tier gear, weapon mods | Plasma cutter, drone bay | 8+ hours |
The station hierarchy forces deliberate progression because each tier consumes materials from different zones. While the Improvised Workbench only needs starter wreckage, the Advanced Fabricator pulls from derelict ships that require upgraded traversal gear to reach. This loop keeps exploration relevant rather than letting you farm one safe zone indefinitely.
Station Placement and Power Management
Where you place your crafting stations matters more than the first game because Breathedge 2 introduces base power management. Each station draws from your habitat's power grid, and the Power Distributor limits how many active modules you can run simultaneously. Players who cram every station into one pressurized room often hit brownouts during peak crafting sessions, which slows crafting speed considerably.
To avoid this bottleneck, split your stations across connected modules and prioritize the Capacitor Bank upgrade early. Community testing shows that a balanced grid with two capacitors sustains three active stations without interruption, while a single capacitor struggles once you add the Advanced Fabricator. Keep an eye on your Load Meter because exceeding capacity pauses all active crafting jobs until you shed power draw.
Tool Tiers and the New Durability Model
The biggest shift in Breathedge 2 equipment crafting is the removal of item degradation. According to PC Gamer's reveal coverage, RedRuins Softworks explicitly stated that crafting a drill now feels like a significant event because the tool stays relevant throughout the sandbox. Instead of breaking after five uses, tools gain Tier Levels through upgrades that expand their functionality rather than resetting your inventory.
This change reshapes how you approach resource investment. In the original Breathedge, players hoarded materials because anything they built would eventually shatter. Now, an upgraded Plasma Cutter remains useful from the mid-game onward, which encourages you to invest in quality upgrades early. The trade-off is that upgrade costs scale steeply, so you still need to prioritize which tools receive your rarest components.
| Tool | Base Tier | Max Tier | Upgrade Benefit | Primary Resource Cost |
|---|---|---|---|---|
| Repair Tool | 1 | 3 | Faster patch speed, hull repair | Duct tape, scrap metal |
| Scanner | 1 | 4 | Extended range, resource highlighting | Circuit board, wiring |
| Plasma Cutter | 2 | 5 | Armor piercing, salvage yield boost | Alloy plate, energy cell |
| Kinetic Driver | 2 | 5 | Knockback, breach sealing | Titanium frame, coil |
The Scanner deserves special attention because its upgrades directly feed your scavenge resources efficiency. At Tier 3, it highlights salvageable wreckage through walls, which transforms how you approach derelict exploration. Many players report that upgrading the Scanner to Tier 3 before investing in combat tools produces a compounding advantage, since every resource run yields more usable material.
When to Upgrade Versus Craft New Tools
With the degradation mechanic gone, the decision to upgrade versus craft new equipment shifts toward upgrade paths. A Tier 5 Plasma Cutter outperforms any base-tier alternative, but reaching that tier requires materials from dangerous zones. The kinetic driver sits in a similar position: its knockback ability makes it invaluable for breach sealing, but early upgrades cost energy cells that also power your life support.
The crafting guide for early access covers tool upgrade priorities in detail, but the core rule is simple. Upgrade tools that provide passive utility first, because their benefits apply to every resource run. The Scanner and Repair Tool both fall into this category, while combat-focused tools can wait until you encounter armored enemies.
Inventory Management During Crafting Runs
Effective Breathedge 2 inventory management separates players who return with full cargo holds from those who drift back with half-empty bags. Your suit has limited carry capacity, and unlike the first game, you cannot magically teleport resources to your base. Everything you scavenge must physically return with you, which makes route planning essential.
The Cargo Sled becomes available early and attaches to your suit, expanding capacity by roughly 40%. However, it slows your movement speed and increases oxygen consumption, so you need to balance haul size against traversal safety. Community reports suggest that experienced players run two distinct loadouts: a light exploration kit for scouting and a heavy hauling kit for resource extraction runs.
| Inventory Item | Capacity Bonus | Movement Penalty | Best Use Case |
|---|---|---|---|
| Standard Suit | Base 12 slots | None | Exploration, story missions |
| Cargo Sled | +8 slots | -15% speed | Resource runs, base building |
| Utility Rig | +4 slots, +2 tool slots | -5% speed | Mixed combat and gathering |
| Hauler Frame | +12 slots | -25% speed, +oxygen drain | Bulk salvage operations |
Stacking discipline matters because many materials share inventory slots but have different stack limits. Duct tape stacks to 20, while scrap metal caps at 10 per slot. Knowing these limits prevents you from filling your haul with low-value items that block space for rare components. The where to find materials guide breaks down stack limits and rarity tiers for every resource category.
Prioritizing High-Value Salvage
When your inventory fills mid-run, you need a clear mental model for what to drop. Rare materials like alloy plate and titanium frame always outrank common scrap, even if the scrap fills more slots. A good rule is to keep at least two slots open for unexpected rare finds, because derelict ships often contain high-tier components hidden behind locked doors.
Energy cells occupy a strange middle ground. They power tools and life support, but they also appear frequently in wreckage. If you are running a dedicated gathering route, skip energy cells unless you have empty space. Your base generator can synthesize them from scrap, which means hauling them manually is often a waste of cargo capacity.
Base Building and Crafting Speed Synergy
Breathedge 2 base building directly impacts your crafting speed through the Workshop Efficiency stat. Every crafting station has a base speed modifier, but surrounding it with organized storage, lighting, and power conduits increases efficiency by up to 35%. This bonus is not cosmetic: a 35% speed boost across multiple crafting jobs saves significant real time during long sessions.
The Storage Matrix system replaces the first game's scattered chests. You connect storage units to your crafting stations via Data Conduits, and stations automatically pull materials from linked storage. Without this connection, you must manually carry materials to each station, which wastes time and increases the chance of forgetting components. Setting up a proper Storage Matrix early transforms the crafting experience from tedious to streamlined.
| Base Module | Effect on Crafting | Priority Level | Resource Cost |
|---|---|---|---|
| Storage Matrix | Auto-pulls materials to stations | High | Wiring, circuit board |
| Capacitor Bank | Prevents power brownouts | High | Alloy plate, energy cell |
| Lighting Array | +10% crafting speed | Medium | Scrap, glass |
| Organized Shelving | +15% crafting speed | Medium | Duct tape, scrap metal |
| Drone Bay | Automates resource delivery | Low (late game) | Titanium frame, AI core |
The suit upgrades article covers defensive progression, but crafting speed synergizes with suit choices in subtle ways. A suit focused on mobility lets you gather resources faster between crafting sessions, effectively increasing your overall production rate. Consider whether you want raw crafting speed or faster material acquisition when choosing your next upgrade.
Optimizing the Crafting Queue
Breathedge 2 lets you queue multiple crafting jobs per station, but the queue does not automatically prioritize by material availability. If you queue three items and the second requires a material you do not have, the entire queue stalls. To avoid this, craft in dependency order: first create components, then assemble finished items from those components.
A practical workflow looks like this: run a gathering route with your light kit, return to base, queue all component crafts, then use the Auto-Sort function to organize incoming materials while components finish. This parallelizes your time and keeps the crafting queue moving. Players who skip component pre-crafting report spending 20-30% more time staring at progress bars.
Advanced Crafting: Gear Tiers and Mod Slots
Endgame Breathedge 2 equipment crafting introduces Mod Slots on high-tier gear. Unlike basic upgrades, mods are swappable attachments that change how a tool behaves. A Plasma Cutter with a Yield Mod extracts more salvage from wrecks, while the same tool with a Piercing Mod becomes better against armored enemies. This modular system replaces the rigid upgrade ladder from the first game.
Gear tiers determine how many mod slots an item has. Base tools have zero slots, Tier 3 tools gain one slot, and Tier 5 tools unlock two slots. The second mod slot is often where specialized builds emerge, because you can combine complementary mods for specific activities. A dedicated salvage build might run Yield Mod plus Speed Mod on the Plasma Cutter, while a combat build runs Piercing Mod plus Stagger Mod on the Kinetic Driver.
| Gear Tier | Mod Slots | Upgrade Materials | New Capability |
|---|---|---|---|
| Tier 1 | 0 | Scrap, duct tape | Base functionality |
| Tier 2 | 0 | Alloy plate | Improved stats |
| Tier 3 | 1 | Titanium frame | First mod slot |
| Tier 4 | 1 | Rare salvage | Enhanced stats |
| Tier 5 | 2 | Legendary components | Second mod slot, unique ability |
The full crafting guide details every recipe and upgrade path, but the key takeaway is that mods extend tool relevance far beyond what tier upgrades alone achieve. A Tier 3 tool with the right mod can outperform a Tier 4 tool with no mod, which rewards players who experiment with loadouts rather than blindly chasing higher tiers.
Legendary Components and Blueprint Acquisition
Top-tier crafting requires legendary components that only appear in specific derelict ships or story milestones. These components are not random drops; each one has a fixed source, which means you can target your exploration toward specific upgrades. The AI Core, for example, appears in the wreck of the Prometheus-class carrier in the third sector.
Blueprints follow a similar pattern. Most recipes unlock through story progression, but some hidden blueprints require scanning wreckage or completing optional side quests. The scanner's Tier 4 upgrade marks blueprint locations on your HUD, which makes it the single most valuable tool for completionists. Without that upgrade, you will likely miss several high-tier recipes entirely.
Frequently Asked Questions
Does Breathedge 2 still have item degradation?
No, the 2026 rework removed the degradation mechanic entirely. Tools and gear no longer break after a set number of uses, which makes crafting a drill or scanner a permanent investment. Instead of breaking, items now progress through tier upgrades that expand functionality and add mod slots.
How do I increase crafting speed in Breathedge 2?
Crafting speed scales with base building efficiency. Surrounding your crafting stations with organized storage, proper lighting, and stable power increases the Workshop Efficiency stat by up to 35%. The Storage Matrix also automates material delivery, reducing downtime between queued jobs.
What is the most important tool to upgrade first?
The Scanner should be your first upgrade priority because its higher tiers reveal salvage through walls and mark blueprint locations. This passive utility compounds across every resource run, making all subsequent crafting faster and more efficient. Upgrade it to Tier 3 before investing heavily in combat tools.
Can I automate resource gathering in Breathedge 2?
Late-game bases can build a Drone Bay that automates resource delivery from designated salvage zones. However, drones still require manual setup and energy to operate. They supplement rather than replace your own gathering runs, especially for rare materials that drones cannot extract efficiently.
Where do I find rare crafting components?
Rare components spawn in specific derelict ship types, not random drops. Scavenge second-sector wrecks for alloy plate, and check the Prometheus-class carrier in the third sector for the AI Core. Prioritize these locations during crafting runs instead of grinding generic salvage.