
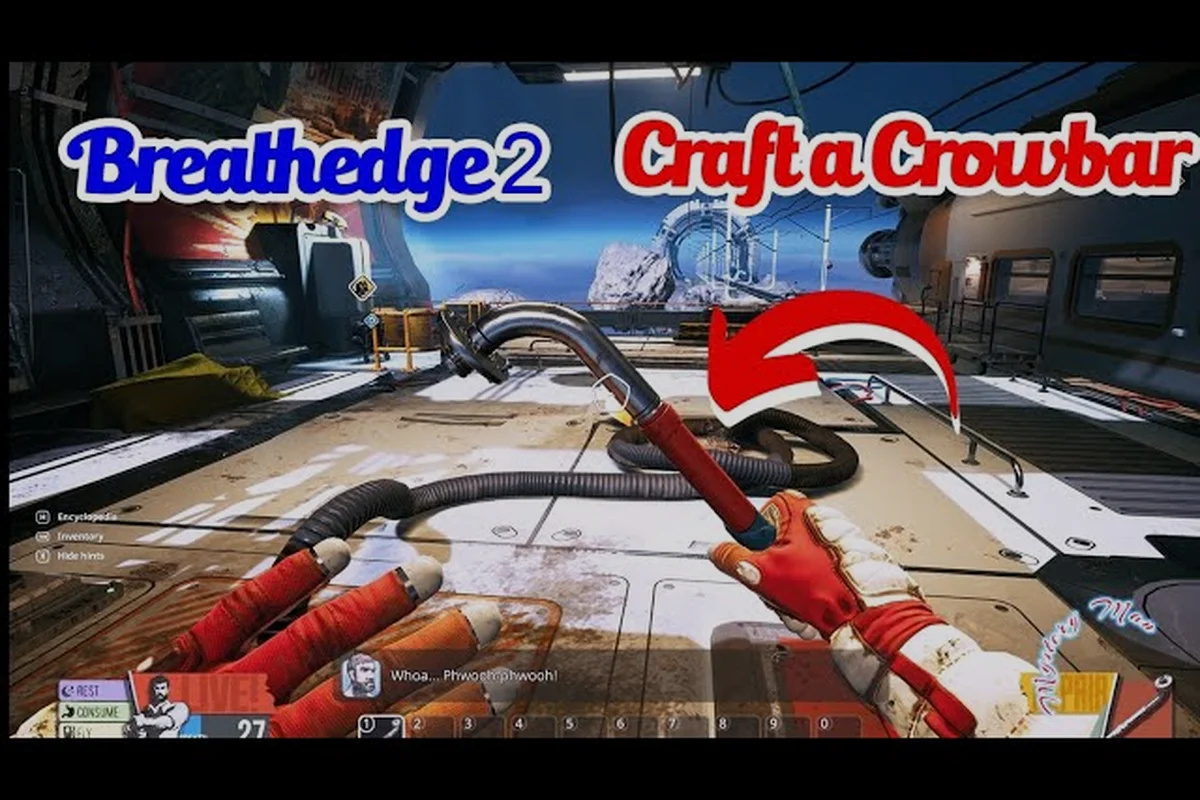
Managing Breathedge 2 resources determines whether you limp through the first story chapter or cruise through it with upgraded gear. The game buries useful salvage inside wreckage, behind locked panels, and in the pockets of derelict machinery, so a clear hoarding strategy prevents wasteful runs. This guide ranks which materials to grab first, what to leave floating, and how to convert junk into blueprints that keep your spacesuit alive.
The Scavenger Economy: What Actually Matters
The central loop of Breathedge 2 resources revolves around a simple rule: most junk has a use, but not all junk has equal urgency. Your inventory fills faster than you expect, especially in open space where every floating container looks tempting. Community reports from the Early Access build consistently show that players who grab everything end up making multiple trips back to the workbench, while players who filter loot by blueprint requirements progress twice as fast.
Understanding this economy means separating salvage components from structural junk. Salvage components are the materials listed in your current blueprints—things like wiring, alloys, and fasteners. Structural junk includes decorative debris that might break down into one or two common materials but weighs you down before you reach a storage point. Because Breathedge 2 encourages dismantling machinery rather than just looting containers, the game quietly rewards players who treat the environment as the real resource node.
The Breathedge 2 crafting guide explains how blueprint unlocks reshape your material priorities across chapters, but the resource foundation stays the same: gather with intent, not greed. A scavenger who knows which wreckage yields rare alloys versus which yields generic scrap will spend less time drifting and more time building.
Material Tiers and Their Early Game Role
Breathedge 2 materials fall into loose tiers based on how often they appear and how many recipes demand them. Common materials like duct tape and scrap metal show up everywhere, so they should never occupy your inventory unless you need them immediately for a craft. Uncommon materials such as circuit boards and sealed batteries appear less frequently, but several early tools require them, so grabbing one or two when you see them is smart insurance.
Rare materials are the real bottleneck. These include advanced composites and specialized electronics that only drop from specific wreckage types or optional locations. Because the Early Access build gates several quality-of-life upgrades behind rare materials, players who ignore these drops in the first chapter often backtrack later to farm them. The table below breaks down typical material behavior based on community testing during Early Access.
| Material Type | Typical Source | Inventory Priority | Common Mistake |
|---|---|---|---|
| Duct tape | Containers, small debris | Low—grab only when needed | Hoarding stacks of 20+ |
| Scrap metal | Dismantled panels | Medium—steady demand | Ignoring early stockpiles |
| Circuit boards | Electronic wreckage | High—used in tool upgrades | Passing them as cosmetic junk |
| Sealed batteries | Power systems, derelict stations | High—needed for suit modules | Wasting them on low-tier crafts |
| Advanced alloys | Rare wreckage, story zones | Highest—blueprint gates | Selling or ignoring them |
Storage Discipline Before the Workbench
Before you even reach a workbench, your storage habits define whether resource runs feel smooth or punishing. The game gives you limited personal inventory early, and while storage containers appear at key stations, they are not unlimited. Community testing suggests that keeping one stack of each uncommon material is enough for most early recipes, while common materials can be farmed on demand when a specific craft requires them.
A practical rule is to return to storage whenever your inventory passes 70% capacity. This prevents the classic scavenger failure mode where you find a rare material but have no room because you stuffed your suit with common scrap. Because dismantling machinery often drops multiple material types, leaving space for the unexpected drop matters more than maximizing every slot.
Scrap, Salvage, and the Dismantle Loop
Breathedge 2 scrap is not just a currency or a single item—it is a whole category of broken tech that feeds the crafting loop. The official Steam page describes the core loop as turning garbage into "surprisingly useful contraptions," and the gameplay backs that up. Instead of mining asteroids or farming nodes, you spend most of your time ripping apart derelict ships, broken satellites, and abandoned station modules.
This dismantle loop feels different from other survival games because the environment itself is the richest source of materials. You do not simply find a loot crate with pre-rolled contents; you evaluate a piece of wreckage, decide whether it contains the components you need, and then spend time and sometimes tools to extract them. Community reports highlight that repair tools and cutting tools unlock access to material types that are otherwise invisible in the early game.
The where to find materials guide breaks down specific wreckage locations and which materials each zone favors, but the general pattern is consistent: story-critical paths always contain enough basic resources to progress, while optional detours hide the rare components needed for gear upgrades. Because the game respects player curiosity, drifting toward unusual debris often pays off better than following the quest marker.
Dismantling vs. Looting: A Resource Yield Comparison
Players often wonder whether dismantling is worth the extra time compared to simply opening containers. The short answer is yes, but only when you know what the wreckage contains. Containers provide quick, predictable loot but rarely include rare materials. Dismantling takes longer and sometimes requires a specific tool, but it consistently yields higher material density and occasionally drops upgrade components that containers never hold.
The table below compares the two approaches based on community data from the Early Access first chapter, where players recorded yield totals across repeated runs of the same wreck sites. Dismantling with the Handy Scrapper consistently returns refined scrap metal and intact insulation tape but destroys the container, while looting preserves the container for later workbench recipes that require hollow chassis parts — a trade-off that matters most when a blueprint calls for both raw materials and an empty canister in the same build.
| Approach | Speed | Material Density | Rare Drop Chance | Tool Requirement |
|---|---|---|---|---|
| Container looting | Fast | Low | Very low | None |
| Surface dismantling | Medium | Medium | Low | Basic cutter |
| Deep dismantling | Slow | High | Moderate | Upgraded cutter |
| Quest wreckage salvage | Variable | High | Guaranteed specific | Story tool |
Tool-Locked Resources and When to Upgrade
Some Breathedge 2 materials remain physically present but inaccessible until you craft the right tools. For example, sealed compartments may require a laser cutter before you can extract the electronics inside, while reinforced panels need a pry tool to expose structural alloys. This design means your resource availability expands as your toolkit grows, which creates a satisfying progression where new tools feel like keys rather than stat sticks.
The recommended order for tool upgrades, based on player feedback, is to prioritize anything that unlocks new material types over tools that simply speed up extraction. A faster cutter is nice, but a cutter that opens new panel types multiplies your resource options. Because the workbench often requires you to spend materials to build these tools, there is a short chicken-and-egg phase where you must decide which upgrades pay for themselves fastest.
Workbench Priorities: Spend Smart, Not Fast
The workbench is where Breathedge 2 resources become progress, but it is also where players waste the most material. Every craft competes for the same pool of scrap and components, so spending on a low-impact upgrade delays your access to a high-impact one. The key is to separate crafts into three categories: survival necessities, efficiency boosters, and optional conveniences.
Survival necessities include suit integrity repairs, oxygen-related modules, and basic tools that unlock new material types. These should always take priority because they prevent death and expand your gathering options. Efficiency boosters such as inventory expansions, faster cutters, and workbench speed upgrades come second—they make future runs cheaper but do not immediately save your life. Optional conveniences like cosmetic items or niche tools should wait until your core loop feels stable.
According to the official Steam store page, the developers designed Breathedge 2 around "repair and dismantle machinery, gather resources, find ways into inaccessible places," which means the workbench is never a side activity. It is the central hub where your scavenging choices become either smart investments or sunk costs.
Early Game Crafting Priority Table
The following table ranks common early crafts by their material return on investment, using scrap, refined metal, and wire costs measured against the speed of workbench unlock progression. Community testers contributed these priorities based on first-chapter pacing and resource availability, and one consistent finding is that a basic oxygen candle craft outperforms cosmetic blueprint items because it converts surplus scrap into survival time without delaying tool upgrades.
| Craft | Material Cost | Impact | Priority |
|---|---|---|---|
| Basic cutter | Low | Unlocks new materials | Highest |
| Suit oxygen module | Medium | Survival necessity | Highest |
| Inventory pouch | Medium | Efficiency booster | High |
| Repair kit stockpile | Low | Survival insurance | High |
| Speed upgrade for cutter | Medium | Convenience | Medium |
| Cosmetic suit skin | High | None | Lowest |
Blueprint Unlocks and Material Hoarding
Every blueprint you learn changes the value of the materials around you. A component that was useless in chapter one may become the bottleneck for a critical upgrade in chapter two. This is why players who sell or ignore materials they do not immediately need often regret it later. The safe approach is to keep at least one stack of every uncommon or rare material, while freely spending common materials since they are easy to replace.
The equipment crafting guide covers how blueprint progression interacts with your inventory and base building, but the resource rule is simple: hoard uncommon, spend common, and never sell rare. Because the Early Access build will add new areas and recipes over time, maintaining a small material reserve protects you from future content drops that suddenly make old junk valuable.
The Resource Run Loop: From Station to Salvage and Back
A good resource run in Breathedge 2 follows a repeatable pattern that minimizes wasted time and maximizes material density. Start at a station with your inventory mostly empty, chart a path through known wreckage clusters, dismantle only what matches your current blueprint needs, and return to storage before your inventory overflows. This loop becomes second nature after a few runs, but small optimizations add up over a long session.
The most important optimization is pre-planning your target materials. Instead of drifting randomly and grabbing whatever floats by, open your current blueprints and note which materials you are missing. Then route your run through zones that contain those wreckage types. Community data shows that players who pre-plan their runs spend roughly half the time gathering compared to players who explore opportunistically.
Because the game places most rare materials in optional side locations, leaving the main path is often the difference between a basic tool and an upgraded one. The risk is that side locations sometimes contain hostile encounters or environmental hazards, so balancing curiosity with caution matters.
Efficient Run Checklist
Use this checklist before every resource run to avoid the common trap of returning with a full inventory and none of the materials you actually needed. For example, a single trip to the wreckage cluster near the starting airlock can easily eat 20+ inventory slots if you grab every scrap fragment and loose component you see, yet leave you with zero refined metal or adhesive when you reach the workbench. The root cause is that your suit storage filters by item type, not by blueprint requirement, so raw scrap and unprocessed materials crowd out the specific components your current blueprint actually demands. Before undocking, open the blueprint tab at your workbench and write down the exact resource counts (e.g., 4 titanium plates, 2 circuit boards, 6 bolts), then compare that list against your inventory so you know precisely which slots to leave empty for the return trip.
- Open the workbench and note 2-3 missing materials from active blueprints
- Empty inventory below 20% capacity, storing any rare materials
- Chart a path through at least one known wreckage cluster
- Bring the correct tools for the wreckage types on your route
- Dismantle only wreckage that matches your target materials
- Return to storage at 70% inventory, not 100%
When to Skip a Resource Run
Not every salvage opportunity is worth your time. If a wreckage cluster sits far from your current objective, contains only common materials, and requires tools you do not have yet, skipping it is the right call. The opportunity cost of a long detour often exceeds the value of the scrap you bring back.
A good rule from community testing is to skip any detour that takes more than two minutes of travel time unless it contains a confirmed rare material. Because the game respects focused play, short targeted runs beat long unfocused drifts almost every time.
Frequently Asked Questions
What are the most important Breathedge 2 resources early on?
Duct tape, scrap metal, circuit boards, and sealed batteries form the early resource backbone. Duct tape and scrap metal are common but needed for basic repairs and tools, while circuit boards and batteries unlock suit upgrades and better equipment. Prioritize these four when inventory space is tight.
How do I get more Breathedge 2 scrap fast?
Dismantle derelict machinery and broken satellites instead of only looting containers. Surface dismantling yields moderate scrap quickly, while deep dismantling with an upgraded cutter provides higher material density. Story-critical wreckage always guarantees specific scrap types, so follow quest zones for reliable early income.
What should I build first at the workbench?
A basic cutter and a suit oxygen module should be your first two crafts. The cutter unlocks new material types from sealed wreckage, while the oxygen module keeps you alive during longer salvage runs. After those, prioritize an inventory pouch to reduce return trips.
Do blueprints change which Breathedge 2 materials I should keep?
Yes. Every new blueprint makes previously useless materials valuable. Keep at least one stack of uncommon and rare materials even if you have no immediate use for them, because later blueprints often require components that seemed worthless in the first chapter.
Where can I find rare materials like advanced alloys?
Rare materials like advanced alloys drop from specific wreckage types in optional side locations, not standard containers. You need upgraded tools to access some drops. Explore off the main path and dismantle unusual debris, but expect environmental hazards in those zones.